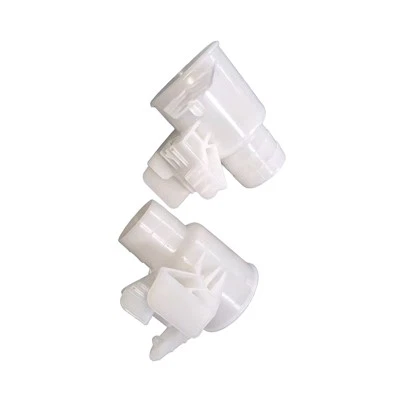
Proper alignment during the installation of auto plastic clips is crucial for ensuring the structural integrity, functionality, and aesthetic appeal of automotive components. As a trusted auto plastic clips supplier, I understand the significance of this process and am here to share valuable insights on how to achieve accurate alignment.
Understanding the Importance of Alignment
Before delving into the alignment process, it's essential to recognize why proper alignment matters. Auto plastic clips play a vital role in securing various automotive parts, such as panels, trim, and wiring harnesses. Misaligned clips can lead to a range of issues, including loose fittings, rattling noises, and even premature wear and tear. In some cases, improper alignment can compromise the safety and performance of the vehicle.
Pre-Installation Preparation
- Inspect the Clips and Components: Before installation, carefully examine the auto plastic clips and the components they will be attached to. Look for any signs of damage, such as cracks, deformities, or missing parts. Ensure that the clips are the correct size and type for the application.
- Clean the Surfaces: Thoroughly clean the surfaces where the clips will be installed. Remove any dirt, grease, or debris that could interfere with the alignment or adhesion of the clips. Use a mild cleaning solution and a soft cloth to avoid scratching the surfaces.
- Refer to the Manufacturer's Instructions: Consult the manufacturer's instructions or installation guide for specific alignment requirements and recommendations. These instructions may include details on the proper orientation, spacing, and torque settings for the clips.
Alignment Techniques
- Use Alignment Guides: Many auto plastic clips come with alignment guides or markings to help ensure proper installation. These guides can be in the form of notches, grooves, or arrows that indicate the correct position and orientation of the clips. Follow these guides carefully to achieve accurate alignment.
- Measure and Mark: If alignment guides are not available, use a measuring tool, such as a ruler or caliper, to measure and mark the correct position for the clips. This can help ensure consistent spacing and alignment across multiple clips.
- Test Fit: Before permanently installing the clips, perform a test fit to ensure proper alignment. Insert the clips into the designated holes or slots and check for a snug fit. Make any necessary adjustments to the alignment before proceeding with the final installation.
- Apply Pressure: Once the clips are properly aligned, apply gentle pressure to secure them in place. Use a suitable tool, such as a clip installation tool or a rubber mallet, to ensure a secure and tight fit. Avoid over-tightening the clips, as this can cause damage to the clips or the components they are attached to.
Common Alignment Challenges and Solutions
- Misaligned Holes: If the holes in the components are misaligned, it can be challenging to install the clips properly. In such cases, you may need to use a reaming tool or a drill to enlarge the holes slightly to ensure a proper fit. However, be careful not to over-enlarge the holes, as this can weaken the components.
- Tight Spaces: In some automotive applications, the installation space may be limited or difficult to access. In these situations, you may need to use specialized tools or techniques to achieve proper alignment. For example, you can use a long-nose pliers or a clip installation tool with an extended reach to install the clips in tight spaces.
- Multiple Clips: When installing multiple clips, it's important to ensure consistent alignment across all the clips. Use a template or a jig to mark the positions of the clips and ensure that they are evenly spaced and aligned. This can help prevent uneven stress distribution and ensure a secure and stable installation.
Quality Assurance
- Inspect the Installation: After installing the auto plastic clips, carefully inspect the installation to ensure proper alignment and a secure fit. Check for any signs of misalignment, such as gaps, uneven spacing, or loose fittings. If any issues are detected, make the necessary adjustments or reinstall the clips as needed.
- Test the Functionality: Once the clips are installed, test the functionality of the components they are attached to. Check for any rattling noises, vibrations, or other signs of improper alignment. If any issues are detected, further adjustments may be required.
Conclusion
Proper alignment is essential for the successful installation of auto plastic clips. By following the tips and techniques outlined in this blog, you can ensure accurate alignment and a secure fit, which will help to enhance the performance, safety, and durability of your automotive components.
As a leading auto plastic clips supplier, we offer a wide range of high-quality products, including Automotive Plastic Sealing Plug, Plastic Fuse Removal Tool, and Fastener Cover Cap. Our products are designed to meet the highest standards of quality and performance, and we are committed to providing our customers with the best possible service and support.


If you have any questions or need further assistance with the installation of auto plastic clips, please don't hesitate to contact us. We look forward to working with you to meet your automotive needs.
References
- Automotive Plastic Parts Installation Guide. (Year). Manufacturer's Manual.
- Best Practices for Auto Plastic Clip Installation. (Year). Industry Publication.